Beauty Tips for Women: Saint Patrick’s Day Manicure

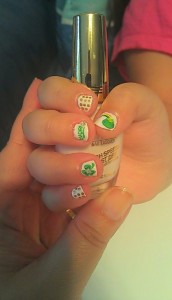
On the blog today is a cute manicure I did for my four-year-old daughter.  At her school they are having a several Saint Patrick’s Day events and she wanted her nails done for all the events.

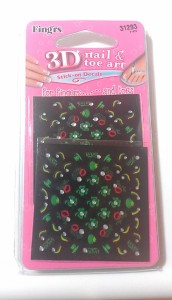
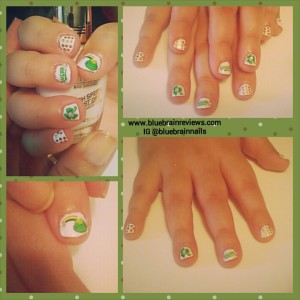
It always is a challenge to get a design on her little nails, so for this manicure I decided to use nail decals.  I purchased Fing’rs 3D Saint Patrick’s Day nail art decals #31293. They are super cute and just the right size to fit her nails.

Nail Art Polish Beauty tips for Women 383

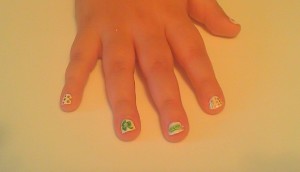
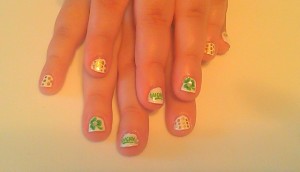
I started off with two coats of Milani White On The Spot.  Using Maybelline Bold Gold and a dotting tool I made some dots on her pink and index finger.  Placed a four-leaf clover on her ring finger and the word “lucky” on her middle finger. I love that these stickers have a little crystal bling already on them.

Nail Art Polish Beauty tips for Women 384Nail Art Polish Beauty tips for Women 385

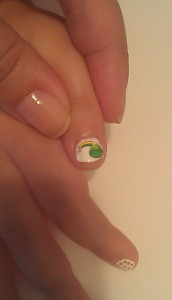
She wanted a rainbow in her manicure.  I was able to fit two decals on her thumb; so I placed the rainbow going into the pot of gold.

Nail Art Polish Beauty tips for Women 386 Nail Art Polish Beauty tips for Women 387

My daughter loved how her manicure came out. Nail Art Polish Beauty tips for Women 388
Over all I love how easy it was to use the Fing’rs nail art decals to make this manicure.  The designs are cute and they stick on perfectly with no issues.  I give Fing’rs five brains! BRAINrate5

Beauty Tips for Women: Snowflake Bling Manicure

Still working through those Christmas manicures.  I did this manicure on 12-24-2013.

I took very little pictures of the process since I did this on Christmas Eve and was rushing to do a lot.

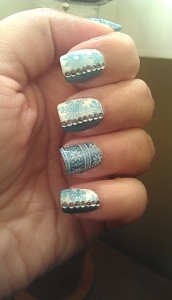
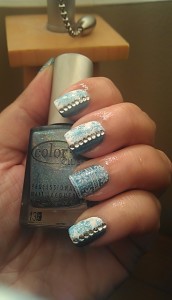
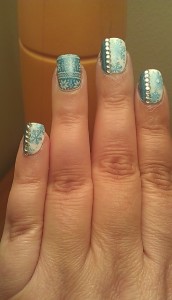
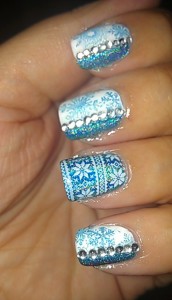
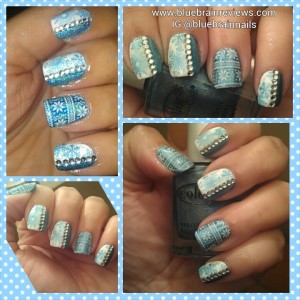
I started off by doing a coat of Color Club Over the Moon on my ring finger and thumb.  I did two coats of Venique Wingtip White on the rest of my fingers.  I applied to the left of the nail Over the Moon.  I wasn’t too concerned that my line was straight since I knew I would be covering it with some bling.

I then stamped the white areas with snowflake images from Bundle Monster BM14, BM319, and BMH01 using Over the Moon.  I added clear rhinestones to the line to make it pop more.  For my ring finger and thumb I stamped the sweater image from Winstonia W120 using Wingtip White.  I added topcoat to seal in the design.  Nail Art Polish Beauty tips for Women 383Nail Art Polish Beauty tips for Women 384Nail Art Polish Beauty tips for Women 385Nail Art Polish Beauty tips for Women 386

I was happy how it came it and couldn’t stop looking at my nails.  Nail Art Polish Beauty tips for Women 387

Beauty Tips for Women: Precision Nail Lacquer – Holiday Edition

So I am still trying to catch up with posting my Christmas manicures of 2013.  I did this manicure on 12/21/2013.

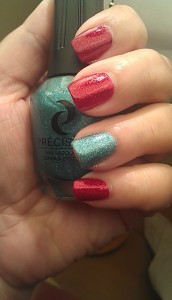
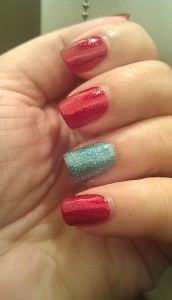
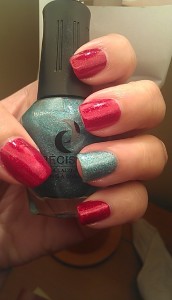
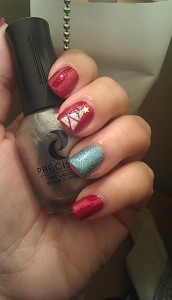
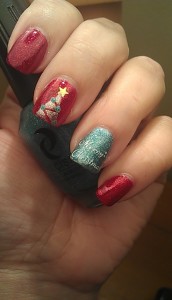
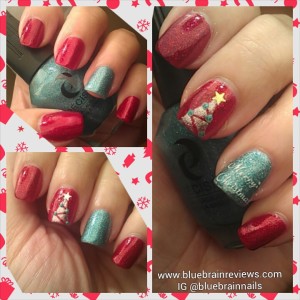
I had the great luck of winning the Holiday Edition from Precision Nail Lacquer.  The colors are Twinkle Toes, After Dinner Mints, and Shiny Disco Ball.  On my ring finger I did three coats of After Dinner Mints.  On the rest of my fingers I did two coats of Twinkle Toes.Nail Art Polish Beauty tips for Women 375Nail Art Polish Beauty tips for Women 376Nail Art Polish Beauty tips for Women 377

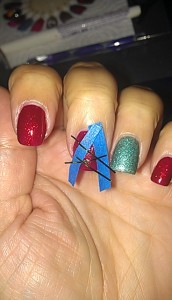
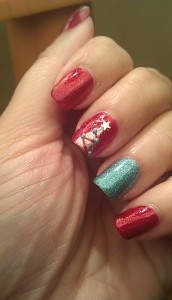
To make the Christmas Tree I used tape to make the shape and then stripping tape to make the zigzag design within.  I then applied a coat of Shiny Disco Ball.  After carefully removing the tape I then applied some dots using After Dinner Mints.  I had to do it three times to get it opaque.  I then fished out a star from Wet n Wild Hollywood Walk of Fame and place it at the top.

Nail Art Polish Beauty tips for Women 378Nail Art Polish Beauty tips for Women 379Nail Art Polish Beauty tips for Women 380

I still wanted to add something else to it.  I decided to stamp Merry Christmas! Using Konad M12 plate using Konad White polish.  Sealed it all up with topcoat.  Nail Art Polish Beauty tips for Women 381Nail Art Polish Beauty tips for Women 382