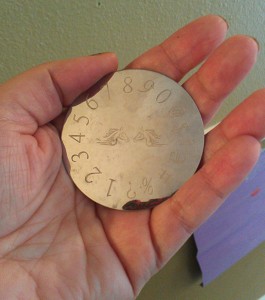
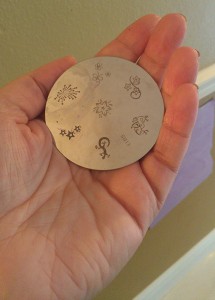
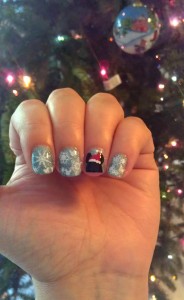
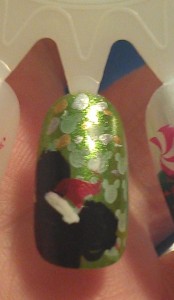
Bundle Monster came out with a special edition Hawaiian Christmas plate BM-SE1. I love all things Hawaiian, Tiki, Polynesian in theme. I needed to get my hands on it. 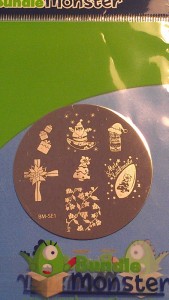
The Hawaiian Christmas plate has 7 images on it. I immediately feel in love with the Santa Tiki. But all the images are super cute. I did a test stamp on paper using Konad black and all the images transferred over and were clear. I had absolutely no issues whatsoever. 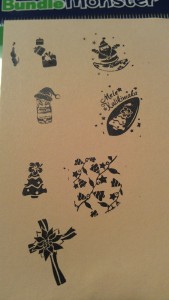
I wanted to do nontraditional colors for my Christmas manicure and try to give it an island feel. I came up with the idea of putting the Santa Tiki on the beach with palm trees. Once I decided that it was time to pick the nail polish colors.

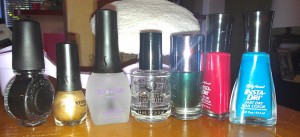
Here is a list of what I used:
LA Colors – Sassy Sparkly
China Glaze – For Audrey
Konad – Black & White
Rimmel – Hot Coca
Color Club – Earthly Angel
Ulta – Envy
Sally Hansen – Rapid Red
Maybelline – Bold Gold
Sally Hansen – Lighening
Pure Ice – Silver Mercedes
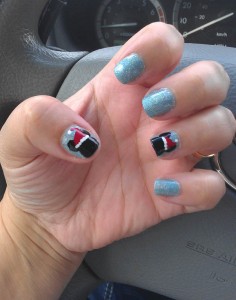
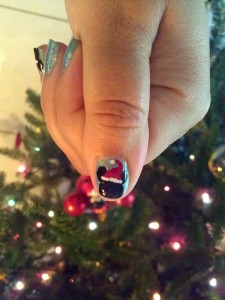
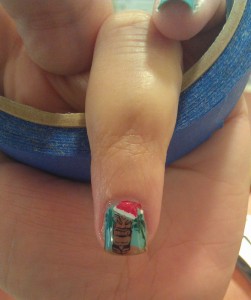 I started off with doing a base coat of For Audrey. I sponged Earthly Angel on the tip of my nail to make a little beach area. Using Envy I painted the palm trees free hand. I then stamped the Santa Tiki in Hot Coca but only the Tiki not the hat. I then filled in the image completely with Hot Coca waited for it to dry and added top coat. The reason for doing this is if I messed up placing the black image over the brown I could take acetone and gently wipe it away without taking off the rest of the polish; basically erasing the mistake. Next used Black for the Tiki, White for the trim and Rapid Red for the hat; I lined it up as best I can and rolled. I practiced doing this method on nail art wheel a couple of times before tying it on my nails. So I was able to get on the first try. Topped it off with Seche Vite.
 For the middle finger I used the Christmas tree. I stamped the tree with Eny and the flower with Konad white. With a dotting tool I placed red and yellow dots and used a gold striper to fill in the lines. Topped it off with Seche Vite. Index and pinky finger I added a coat of Sassy Sparkly. It was my intention to do it on my middle finger but totally forgot and once I but the on the Seche Vite I didn’t want to go back and mess with it. Using Konad White I stamped Mele Kalikimaka. For the presents on the pinky I used Silver Mercedes and Bold Gold to stamp the presents. Topped it off with Seche Vite.
I shared my manicure with Bundle Monster via Instagram and was blown away when they shared my manicure on their facebook page. I love their stamping plates so it truly was an honor to make it onto their timeline.
I hope you enjoyed, Mele Kalikimaka everyone!
