With Thanksgiving happening just around the corner I wanted to try my hand at doing a Thanksgiving manicure. I was defiantly inspired to try by all the awesome nail art that has been popping up on facebook and instagram.
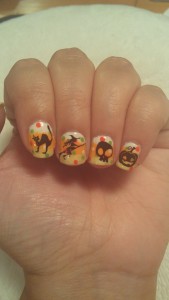
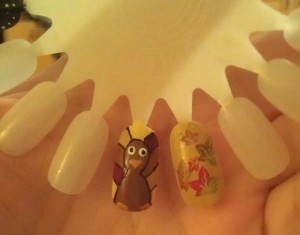 I decided to make a turkey but my own nails were to short to pull off the look, so I tried my idea out on a practice wheel. I think my little turkey came out ok for a freehand design and I felt inspired to try out an autumn leaves design as well. I really liked how the leaves came out so I decided that I would do these on my nails.
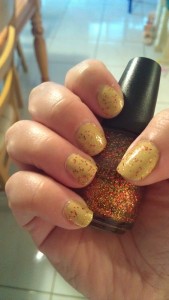
I started off with painting my nails China Glaze – Kalahari Kiss. 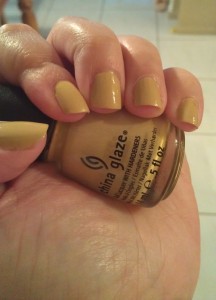
Then I added a coat of Sinful Colors – Pumpkin Spice.
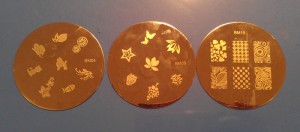
I went through my stamping plates and selected 3 Bundle Monster plates to make the leave designs: BM04, BM05 and BM19
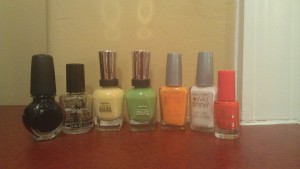
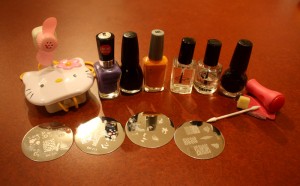
Next I selected the polishes to stamp the leaves with. I really wanted to get that autumn feel in the leaves when they are changing colors. So I wanted to see if I could mix the colors on the stamping plate to get that effect.
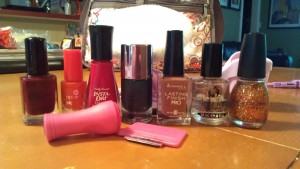
From left to right:
Color Club – Red-ical Gypsy
Essence – Wake Up
Sally Hansen – Rapid Red
Ulta – Envy
Rimmel – Hot Coca
Seche Vite
Sinful Colors – Pumpkin Spice (didn’t stamp with it, just forgot to remove it from the line up)
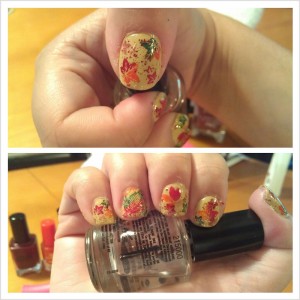 I started off with my right hand since I always have a hard time stamping or doing any designs on my right hand. The pinky, index and thumb were stamped with the leave image of BM04. On the ring finger I wanted to try the full leaves image from BM19. This plate is from Bundle Monster’s first set so their full images are small and never fit my full nails across. So I ended up having to try and add to the side that was left bare. I think it came out ok. On the middle finger I stamped the solid image of a leave from BM05. My nails are not long enough to fit the leave and stem in nicely so I tried to cover it up with the other leaves from BM04.
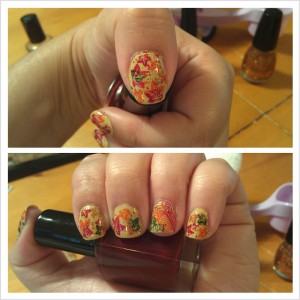 Taking the lessons I learned from stamping my right hand, I opted to leave out the image from BM05 on my left hand. I still used the full leave image from BM05 but when I stamped it I took individual leaves to rearrange them so that it would cover my whole nail across. I think it came out ok. I gave the manicure a good topcoat of Seche Vite.
I shared my manicure on Bundle Monster’s facebook page and I got a nice compliment from them and others who liked the manicure. I’m very pleased that it was liked and for all the encouraging words.

