Mermaid Crown DIY

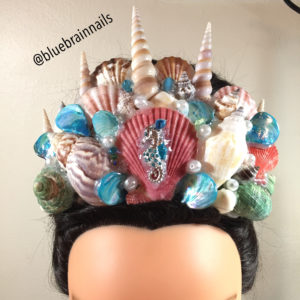
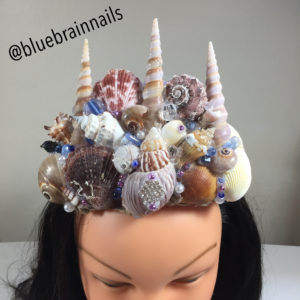
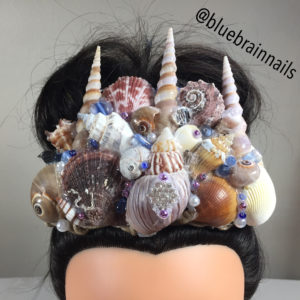
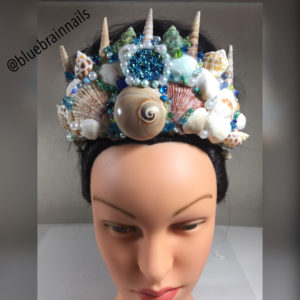
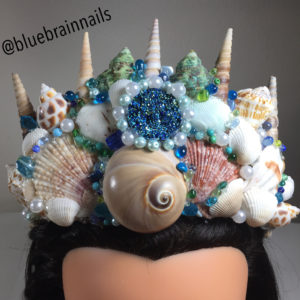
Sharing a DIY mermaid crown project I did with my girls. I followed a tutorial on YouTube from My Froggy Stuff. My Froggy Stuff does some awesome crafting.


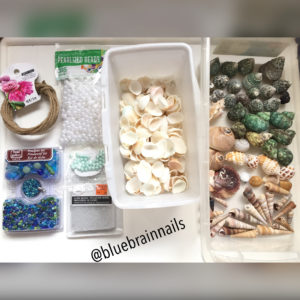
Products used:
Sea Shells
Wired Twine
Charms
Beads
Pearls
Side Hair Combs
Hot Glue Gun


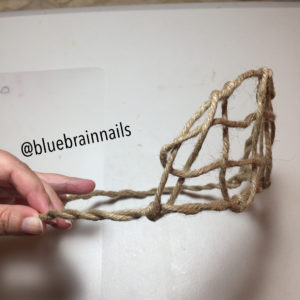
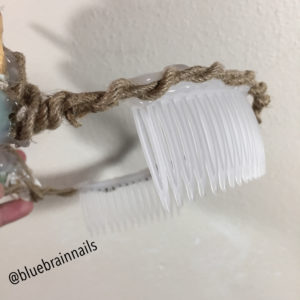
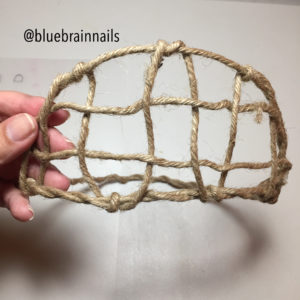
Measured everyone’s head and made the crown frame using the wired twine. After completing the crown, I added the side hair combs for added security. 
Everyone had something different in mind when it came to color and design. We had fun putting it together and came up with three different crowns. 
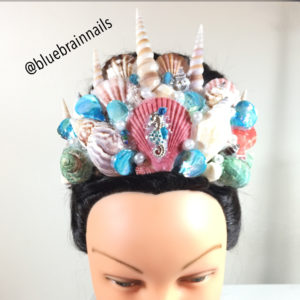
I still need to make one for myself. So, I’ll be working on that one soon enough and share it as well.

Beauty Tips for Women: Mermaid Mondays and Orly Mirrorball swatch

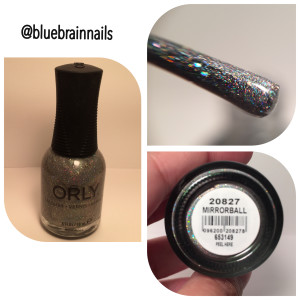
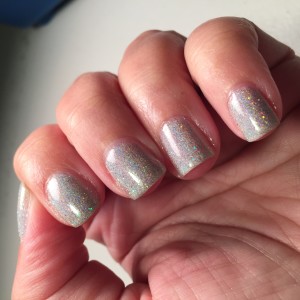
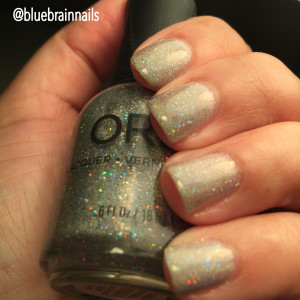
Orly Mirrorball is a polish I have wanted for some time but never could find.  I eventually found it at Sally Beauty Supply.  Mirrorball is a silver holographic polish.
Nail Art Polish Beauty tips for Women 586
The formula is very nice.  I applied two coats with no issues.
Nail Art Polish Beauty tips for Women 587Nail Art Polish Beauty tips for Women 588
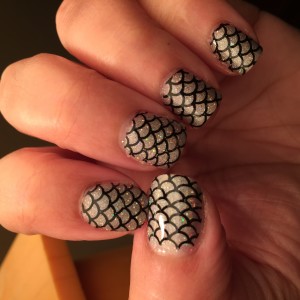
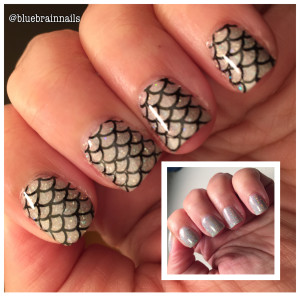
I wanted to add some nail art to this lovely manicure.  I decided to go with a mermaid scale design using Mash-39 plate.
Nail Art Polish Beauty tips for Women 589
I liked how this manicure came out.
Nail Art Polish Beauty tips for Women 560
I give Orly Mirrorball 5 brains.

BRAINrate5

Beauty Tips for Women: Mermaid Tale Inspired Manicure

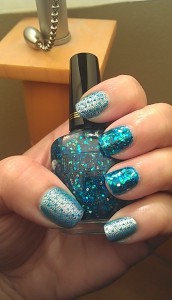
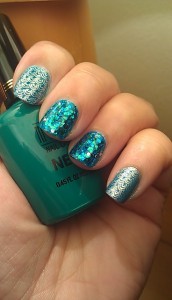
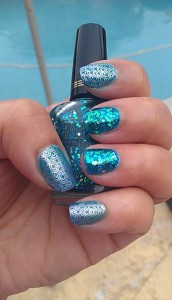
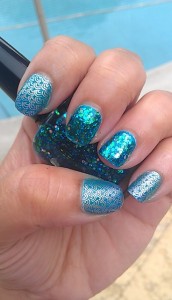
I recently picked up some neon and glitter polish from Milani that called an ocean / mermaid feel to them when placed in combination.  The colors are Milani Neon Fresh Teal, Milani Neon Blue Dude, and Milani Teal (glitter polish).  I decided I wanted to try a Mermaid Tale or Mermaid Scales manicure.

I totally forgot to take pictures of the polish and plates involved.  It simply has been just one of those weeks.

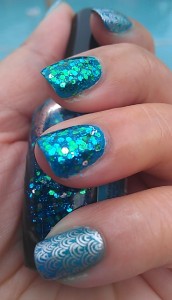
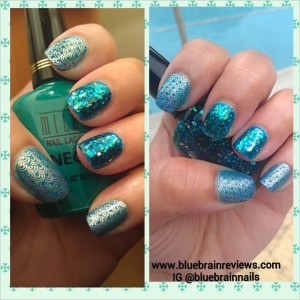
Since the two polishes are neon colors I decided to do a basecoat of white polish.  I did a gradient using Fresh Teal and Blue Dude on thumb, index, and pinky. Middle finger got a coat of Fresh Teal and ring finger got a coat of Blue Dude.  I did this because I wanted to see if there would be a difference in the way the glitter polish would look on each color (there was no difference at all).  I was a bit torn between the two images I had for scales.  I could either use Winstonia W111, which has a large scales image, or Cheeky plate B, which has a smaller scales image.  I decided to try the look out on my left hand before committing to a final look.

I wasn’t thrilled the way Winstonia W111 looked when compared to Cheeky’s image.  The scales effect I was looking for was achieved more with the image from Cheeky.

Below is a series of photos of the completed manicure.  Unfortunately the gradient effect was lost under the stamping.  I only did two coats of the gradient thinking that would be enough but clearly to make it pop under the stamping I would have needed more coats.

Overall I loved the final results.  I’m totally in love with Milani Teal; it is an amazing glitter polish.  The way it shifts under light between the teal, blue and silver glitters is beautiful.  I’m still on the fence with Fresh Teal and Blue Dude.  When compared to other neon colors they just don’t pop.  Another con is that they both stained my nails horribly. Setting aside those two things, it turned out great.