Spornette Ventura Blow-Out Brush

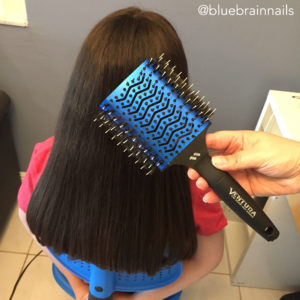
Sharing my results using the Spornette Ventura Blow-Out Brush.

The Spornette website description: “Ventura Brush is a hybrid brush combining the best of a round brush and a paddle brush. Curl, flip or straighten all with one comfortable and convenient tool. The Ventura’s flat side is great for straightening and the round side is great for curls and flips. The width of the brush can work on larger sections of hair. The elliptical design helps pull roots straight and smooth out ends with a simple twist of the wrist. The twist will help lock the brush for a smoother Blow-out. The metal barrel on the paddle side of the brush is great for smoothing & straightening.
The rounded sides of the brush are great to curl or flip ends.”  

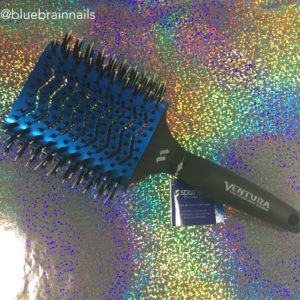
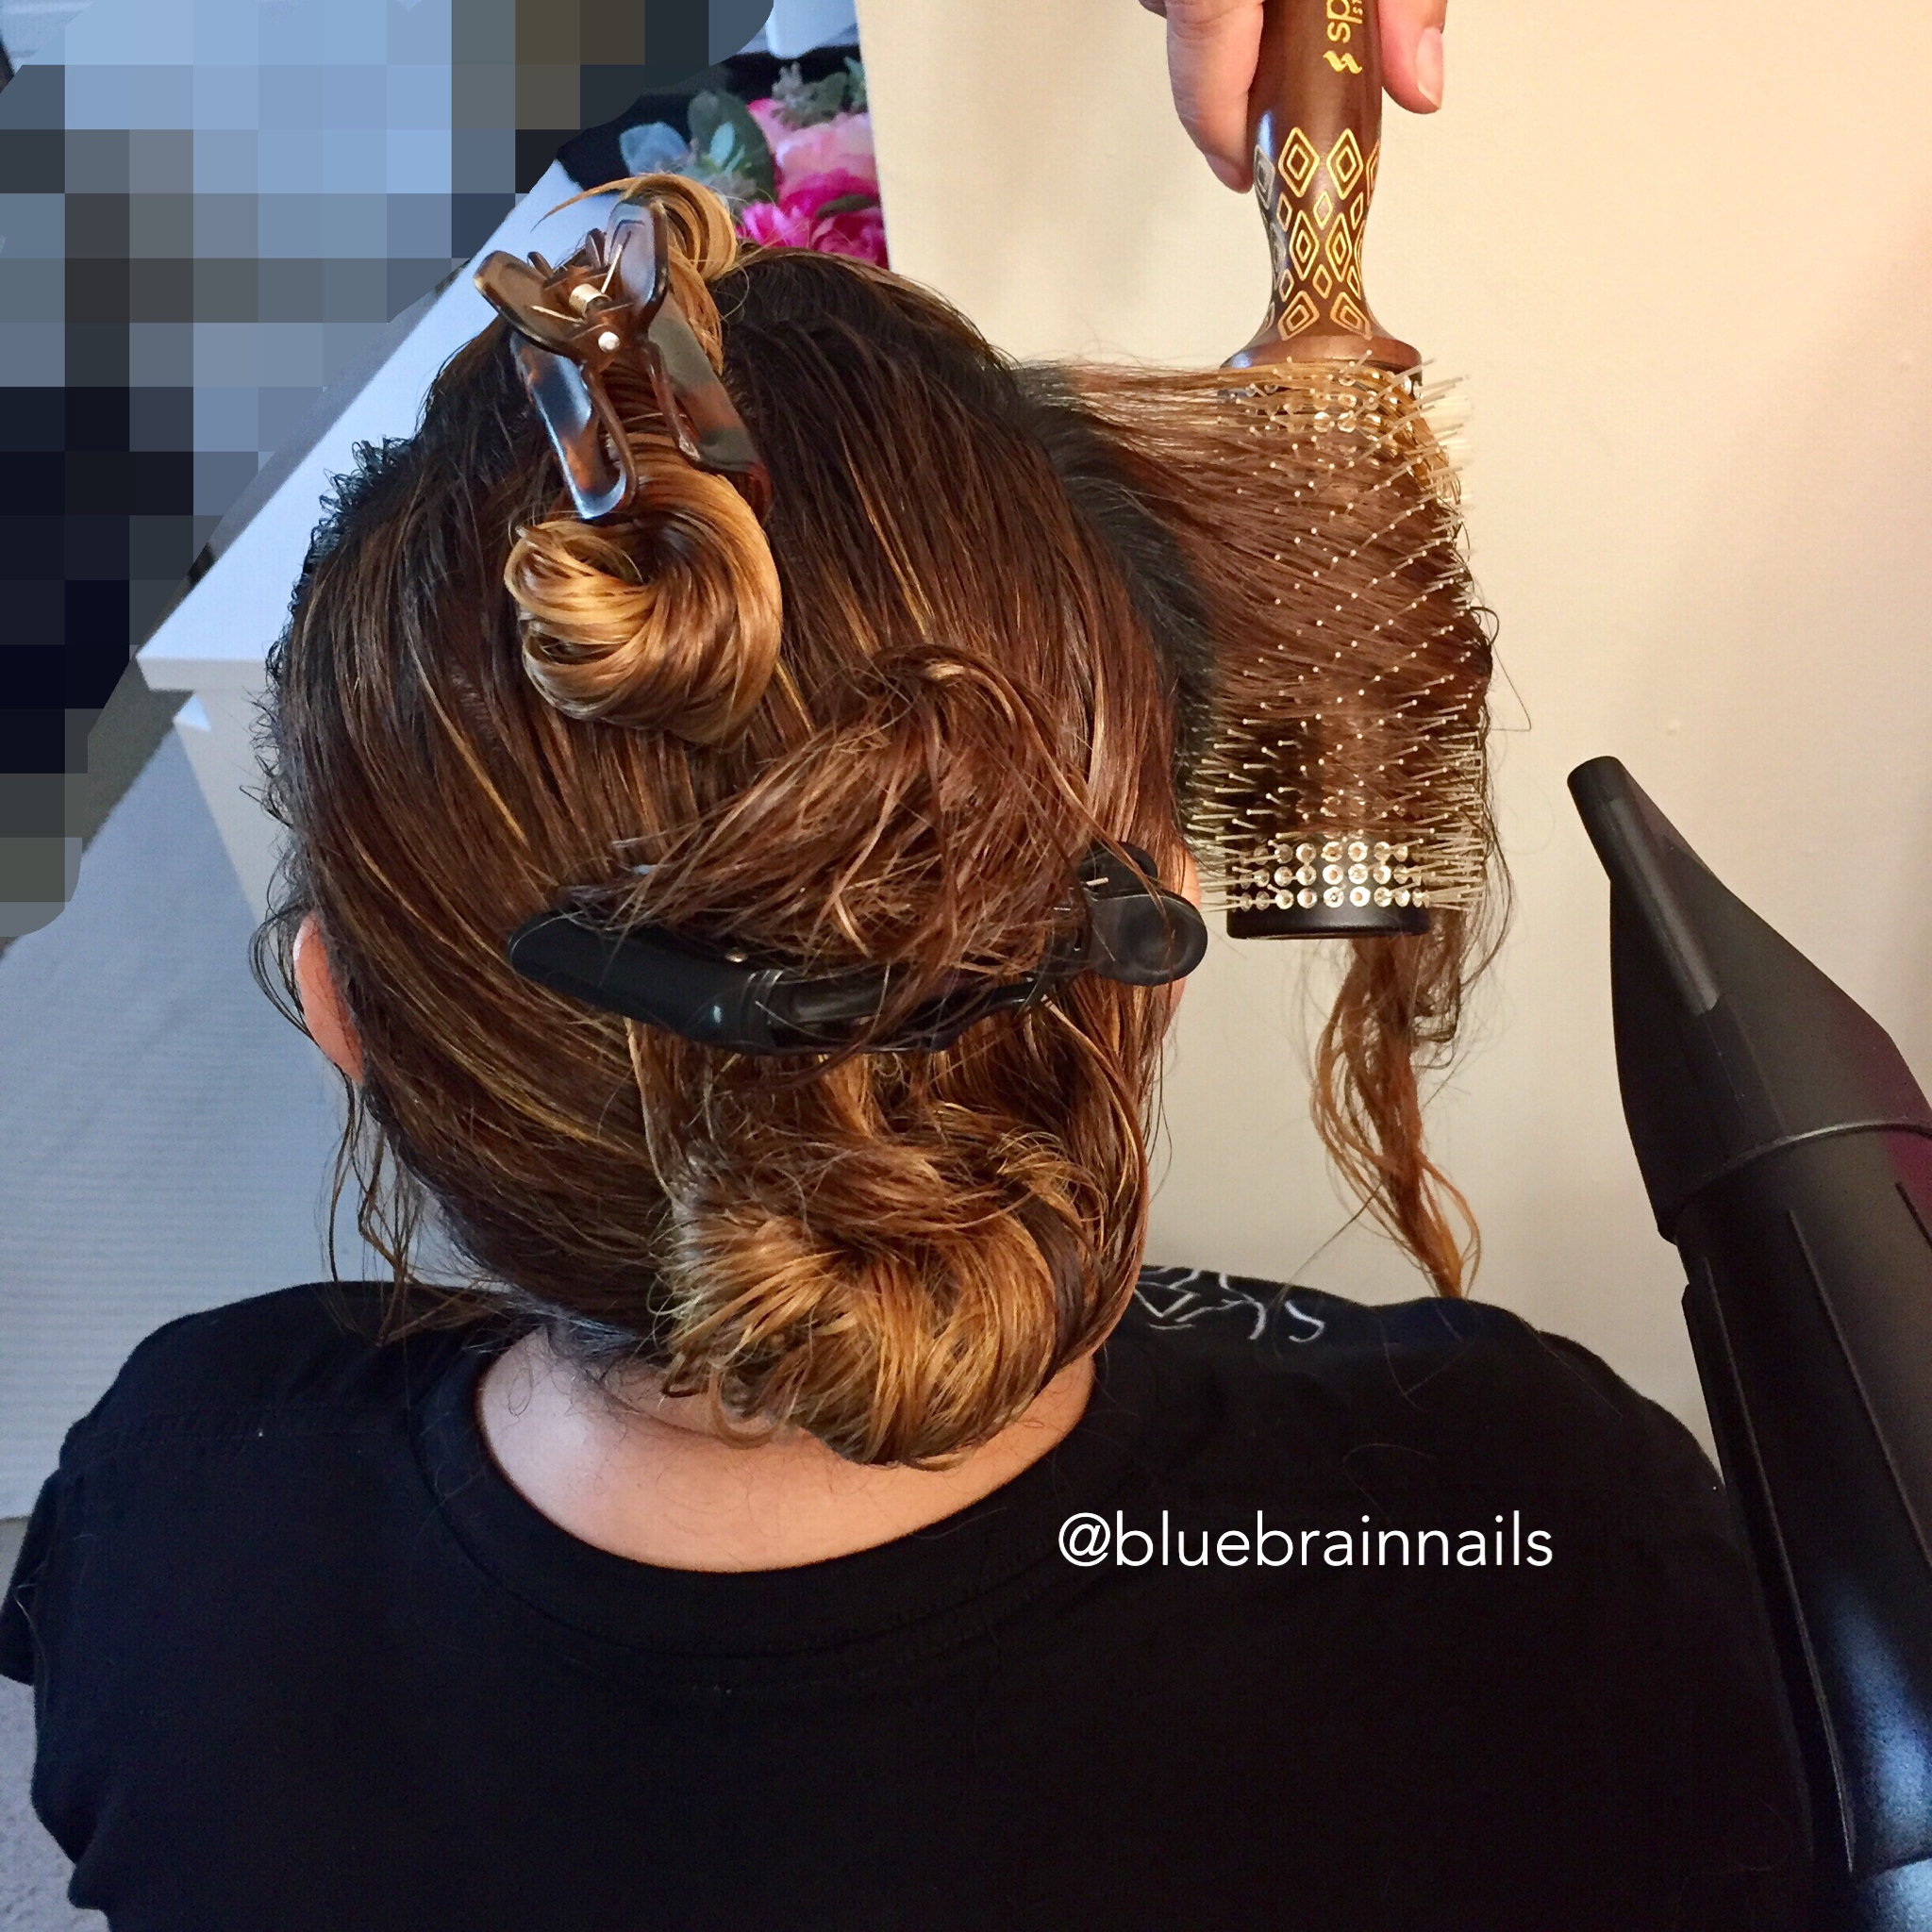
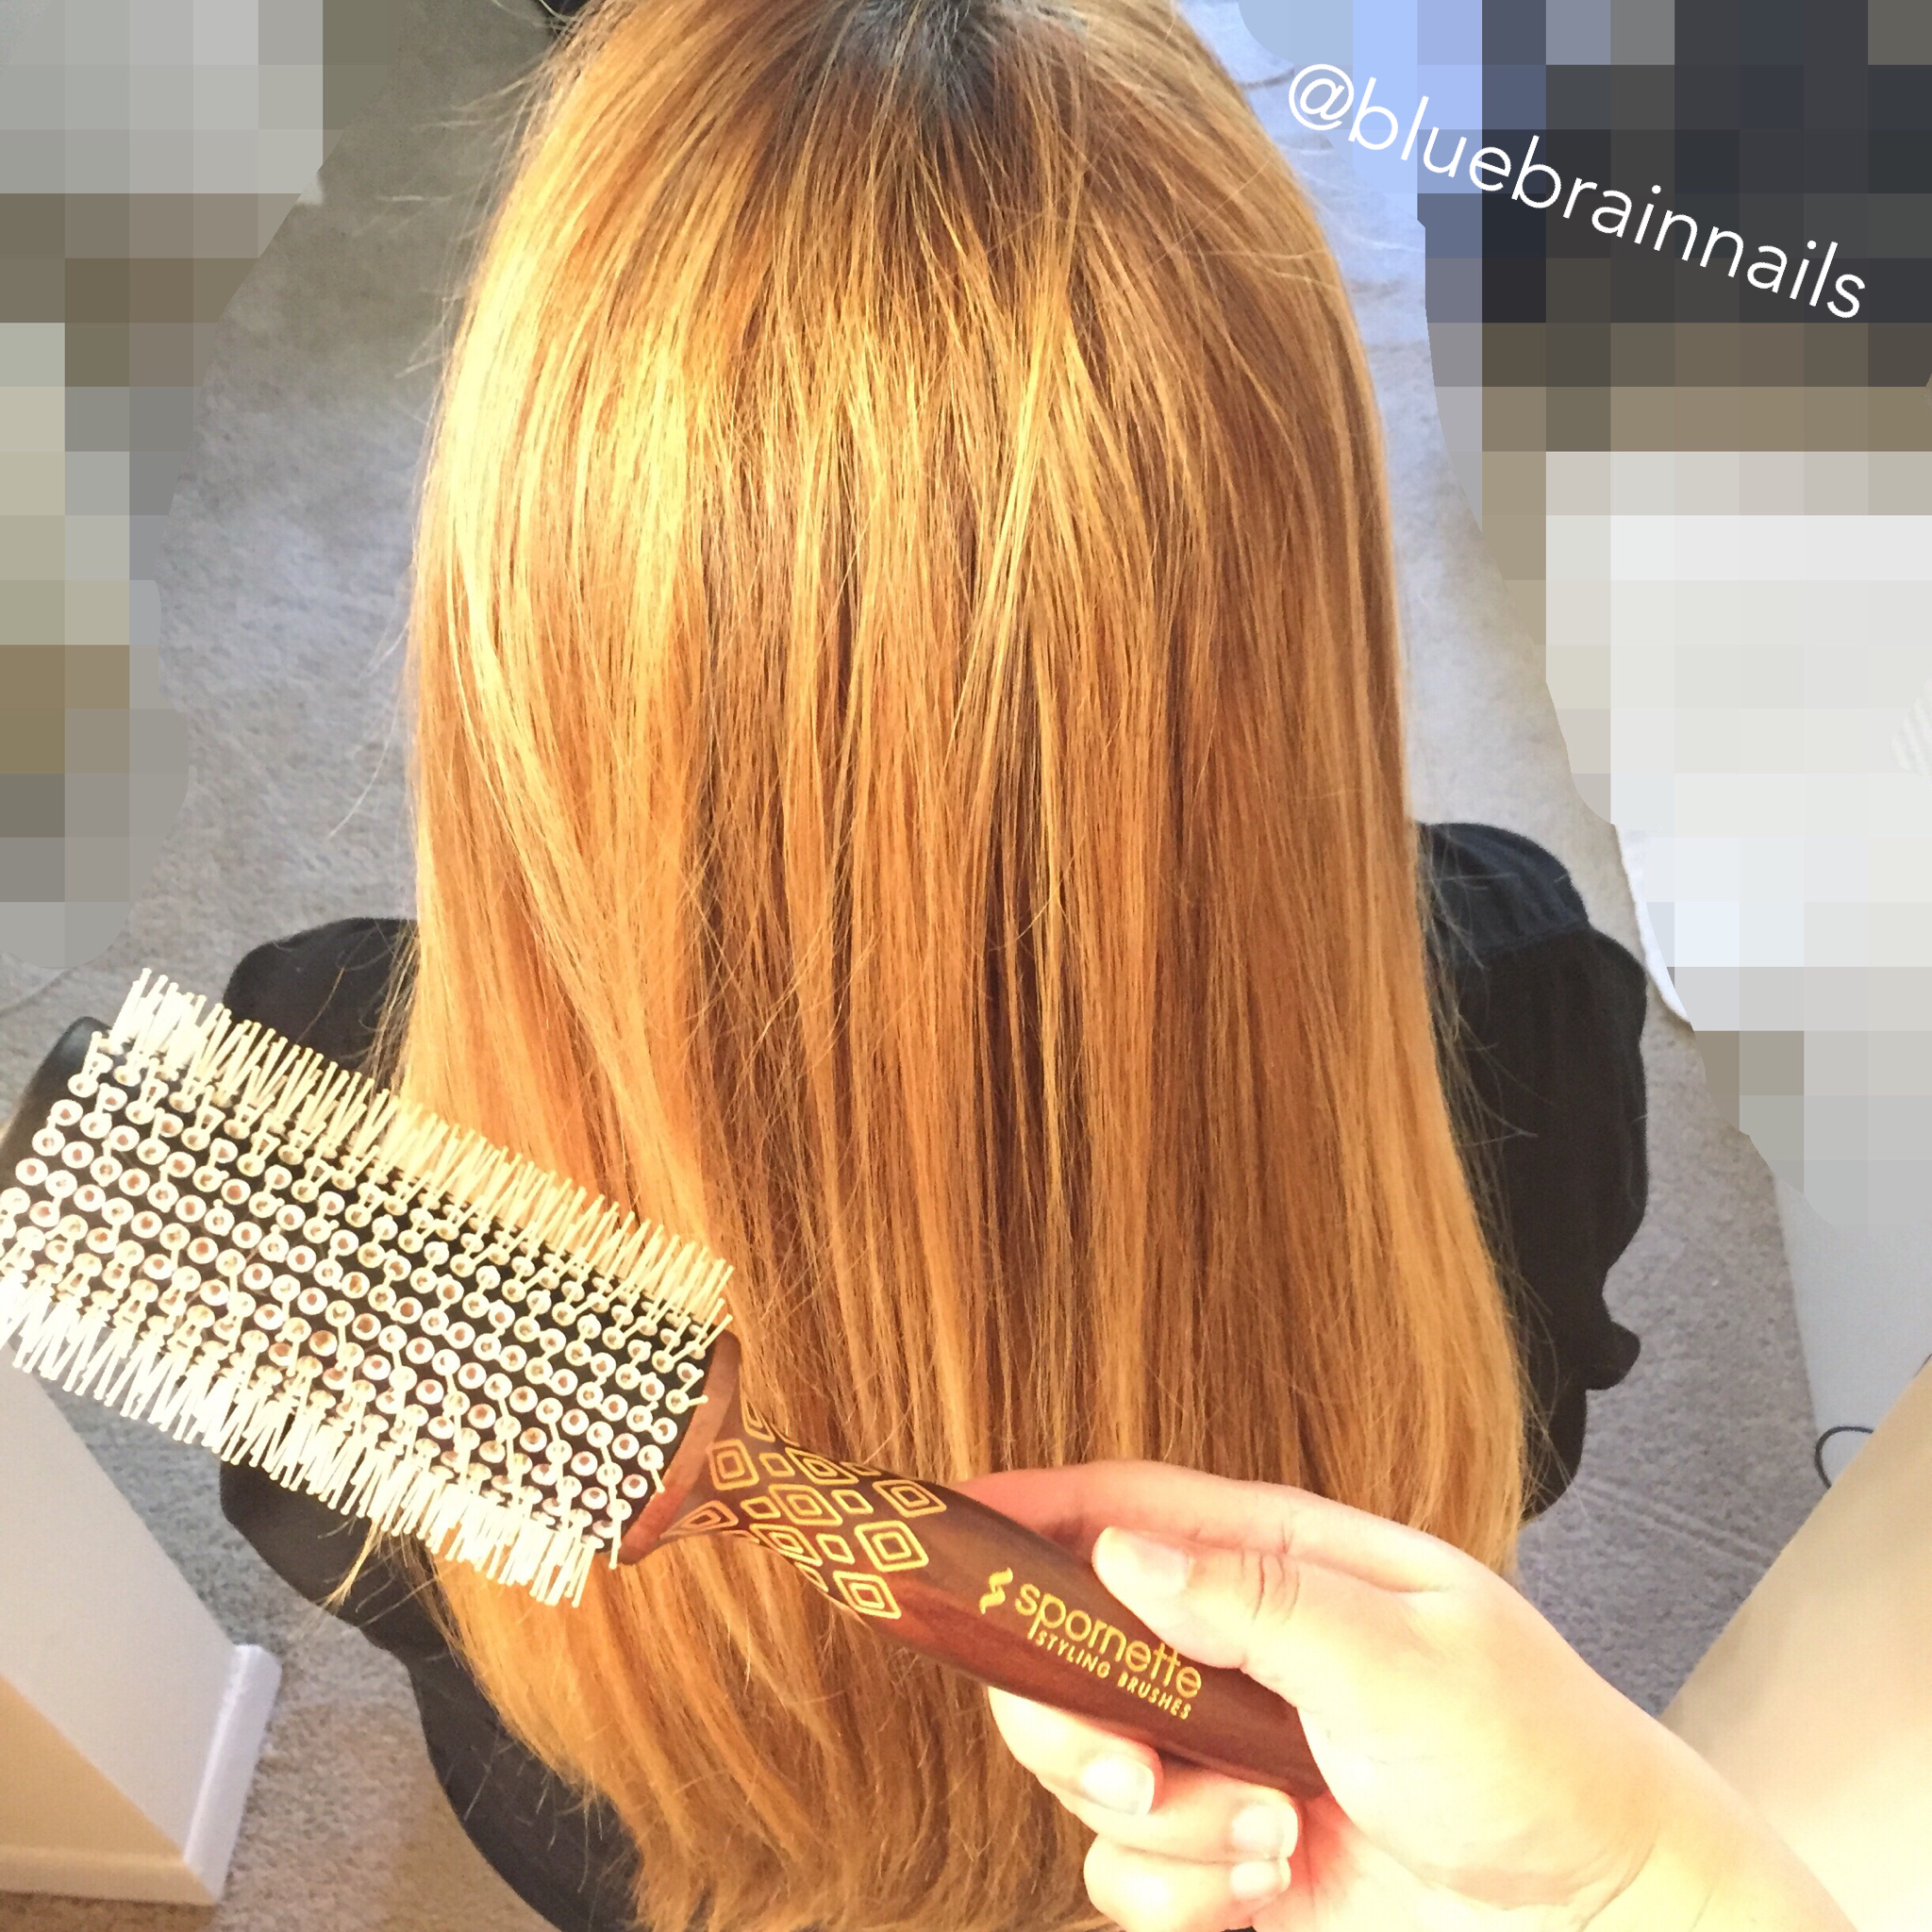
The brush is light. The handle has a perfect grip and design to facilitate the movement of your thumb and hand during the drying processes. I could get great tension on the hair, which is something I only got using a round brush and never with a paddle brush. Once I found my rhythm using the brush it was easy sailing for this blow-out.  I was able to use larger sections of hair as I moved up. Got a great blowout in half the time, which made my kid happy

It really was a joy to use this brush, love it. 

Spornette Etched Brush

Wanted to share my results using the Spornette Etch Brush.  

The Etched Brush has a handle that looks beautiful and gives extra grip. It has a ceramic heat-reactive barrel and ION charged nylon bristles.  

The blow dry came out excellent.

Mini Graduation Cap DIY

Sharing a DIY mini graduation cap. The school colors are blue and gold. I wanted to sparkle it up a bit.

I used a blue sheet of Darice Glitter Sticky Back Foam. I cut the square and a long rectangle.


I used a blue card stock to stick the square foam piece to. Even though the foam has a sticky back, I did use more glue to secure the card stock. 
For the base, I used a paper towel tube. I used the previous cut rectangle foam as a guide to cut the tube. Then all I had to do was stick the foam on to the cut tube. 
Next I marked where I wanted to position the brad at the top of the cap. Once I figured that, I painted it with a nail polish that was a close match to the blue glitter foam. Stuck the brad in once the paint was dry.


I glued the top and the base together using a glue gun.  
For the mini tassel, I used a fork and embroidery floss. I followed the instructions of this YouTube video. I lifted the brad and looped the tassel on it. 
Finally, I glued a clip to the base.


Here is the finished mini graduation cap.