This beauty product review is of the Migi Nail Art Pen – Halloween Set. I won this set through their Facebook contest. I received the Migi Nail Art Pen set on Halloween, so I didn’t have a chance to do any nail art for the occasion.
The Migi Nail Art Pen – Halloween Set is made up of 4 polishes that are linked together in pairs with a connector ring. Two polishes are glow in the dark polishes. Which are described on their website as “2 Very cool High Quality colors that glow in the dark for hours”. I also got a black and orange polish. They are enclosed in a cute clear case, which contained an instruction booklet.

Located within the instruction booklet is a very important tool, the Cleaning Pin. It is taped onto the page and can easily be missed. This is used to unclog the tip of the nail art pen should that happen. It is supper thin and can easily be lost. So what I did was remove it from the book and with same tape, I taped it to the inside of the clear case the Migi Nail Art Pens came in. The booklet also contains a practice sheet, which is a cool thing.


I uncapped each polish to get a look at the nail art pen tip. That is when I noticed that the orange polish had leaked and there was a bit of the polish all around the pen tip and inside the cap. The remaining polishes were fine. But I did notice that the cap of the orange polish was not the same as the others, which had vented caps. I don’t know if this is why it was leaking. But I cleaned up the nail art pen tip and it didn’t seem to be bent or broken. 


Upon swatching the polish I noticed that the orange bottle was half full and the polish inside the bottle didn’t match the outside orange color of the bottle. The polish was more of a pastel pink color rather than orange. I tried my best to get a picture of the half full bottle. Here is a swatch of the polish.


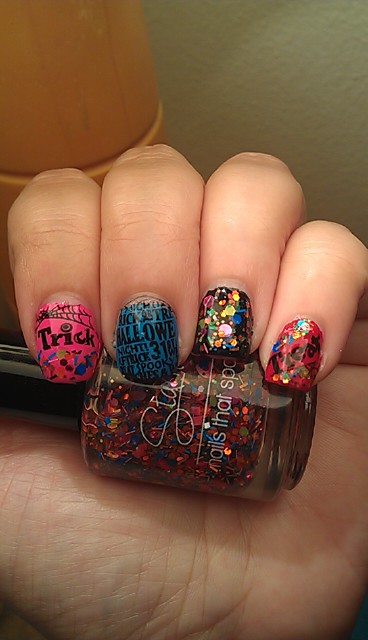
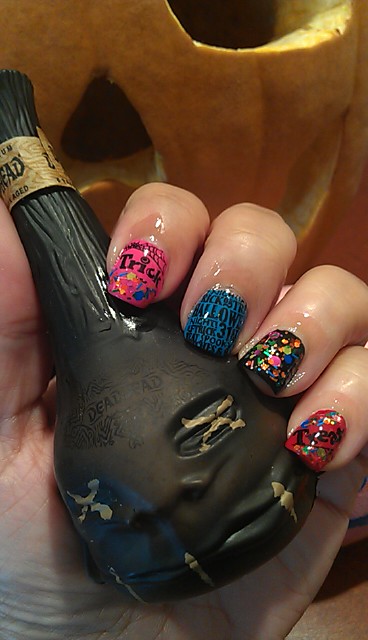
The formula of the orange polish was thick and streaky. It made it a bit hard to work with. That disappointed me but the black polish was the total opposite. It went on smooth with no problems and is actually a very nice black. I decided to test out the pen part so I started off with the black. Making dots and lines was super easy but I need practice. You have to squeeze the bottle to get the polish out the fine tip and figuring out how much pressure is the key. Once I was done with the black and placed the bottle upright the polish continued to bubble up at the top. I had to wipe it down a couple of times before it stopped. On the other hand the orange polish took a bit of time to come out but I had better control to make the dots although my lines came out a bit crazy on both. I know my design is not good but it was more to test the features of the pen than to really do anything else.
I did not test the glow in the dark polish for this review. The issues with the orange polish sort of dampened my spirits to try something else.
I contacted Migi Nail Art about the issue with the orange polish but have not heard back from them. I mentioned to them that I would be reviewing the product on my blog. In all fairness, I did not open the set to test it until 10 days after receiving it and it was a set I won; I don’t expect them to replace the polish. But should they respond about the issues, I will update the article to reflect it.
Despite the issues with the orange polish’s color and formula, I think this a great product. I just I think received a defective orange polish. I like that I have more control than I would have using a striper brush to make detailed designs.
I give the Migi Nail Art – Halloween Set, 4 brains!

Update 12/2012
I heard back from Migi Nail Art and received two orange polishes. One polish was a wonderful orange but the second polish had the same issue of that pastel pink coloring. Not sure what to make of it happening a second time but at least one of the polishes turned out to be orange.